8 Essential Plumbing Tips Every New Homeowner Should Know
Table of contents
Buying a home is one of the most exciting milestones in life—but it also comes with a fair share of responsibilities. Among the most important (and often overlooked) is your plumbing system. Hidden leaks, weak water pressure, or an aging water heater can quickly turn your dream home into a money pit.
That’s why every new homeowner should take a little time to get familiar with their plumbing from day one. A few simple checks can save you thousands in repairs, protect your home from water damage, and give you peace of mind.
Here are eight essential plumbing checks every homeowner should know before—or right after—moving in.
1. Locate and Test Your Main Water Shut-Off Valve

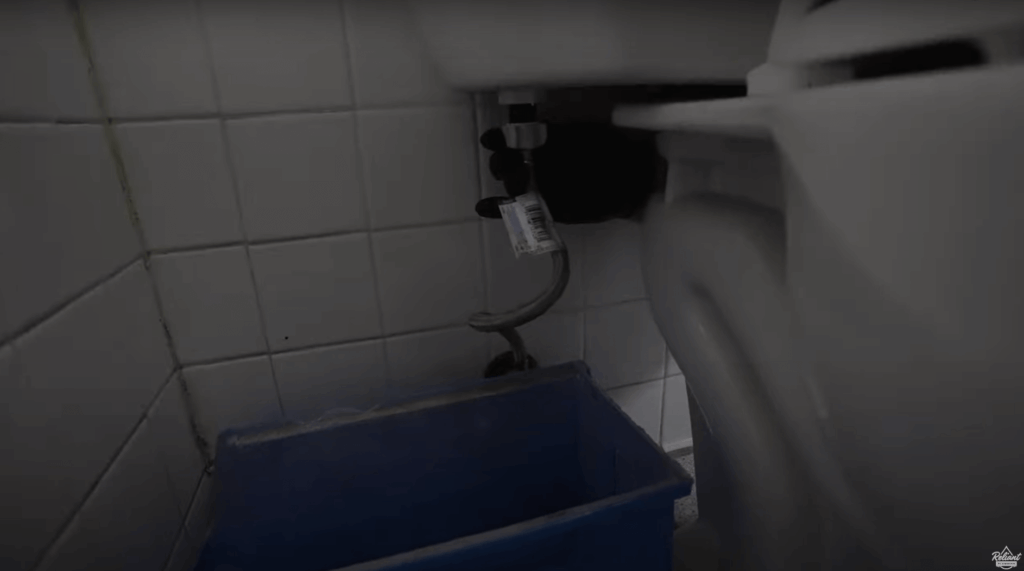
One of the most important things you can do as a new homeowner is to find out exactly where your main water shut-off valve is located. In the event of a burst pipe or sudden leak, those extra seconds you spend searching for it could mean the difference between a quick cleanup and thousands of dollars in water damage.
If you’re still touring a property, ask the seller or realtor to show you the valve’s location. If they can’t point it out, that’s a red flag—it may be hidden, hard to access, or in rare cases, missing altogether. Once you’ve purchased the home, test the valve yourself to make sure it works.
A helpful step: tag the valve with something bright and noticeable, like a ribbon or label. This way, if there’s ever an emergency, you—or anyone in your household—can find it quickly and shut the water off without hesitation. Your future self will be grateful you took this step.
💡 Homeowner Tip: Take a photo of your shut-off valve and store it in a labeled album on your phone. That way, even if you’re not home, you can send the picture to a friend, family member, or plumber who needs to access it fast.
2. Test Water Pressure and Flow
Water pressure can tell you a lot about the health of your plumbing system. During your first walk-through—or right after moving in—turn on multiple faucets at the same time: kitchen sink, bathroom sink, and an outdoor spigot. If the water sputters, flows weakly, or drops off dramatically when more than one fixture is running, you may be dealing with pressure issues or even hidden leaks in the system. These problems won’t just be an annoyance—they can damage appliances, strain your pipes, and lead to costly repairs.
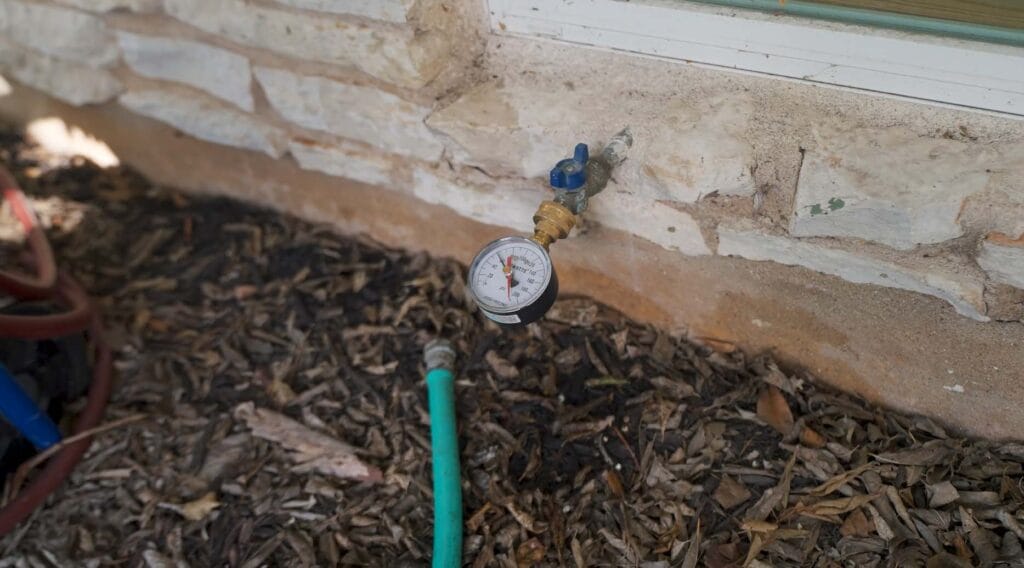
As a rule of thumb, your home’s water pressure should stay below 80 PSI (pounds per square inch) with 60 PSI being the sweet spot for most homes. Anything higher can silently wear down your plumbing and appliances. If you find your pressure is too high, a plumber can install a Pressure Reducing Valve (PRV) to bring it back to safe levels.
💡 Homeowner Tip: You can pick up an inexpensive water pressure gauge at most hardware stores. Simply attach it to an outdoor faucet to get an instant reading of your home’s pressure.
3. Inspect Sewer Lines with a Camera Inspection or Hydrostatic Test
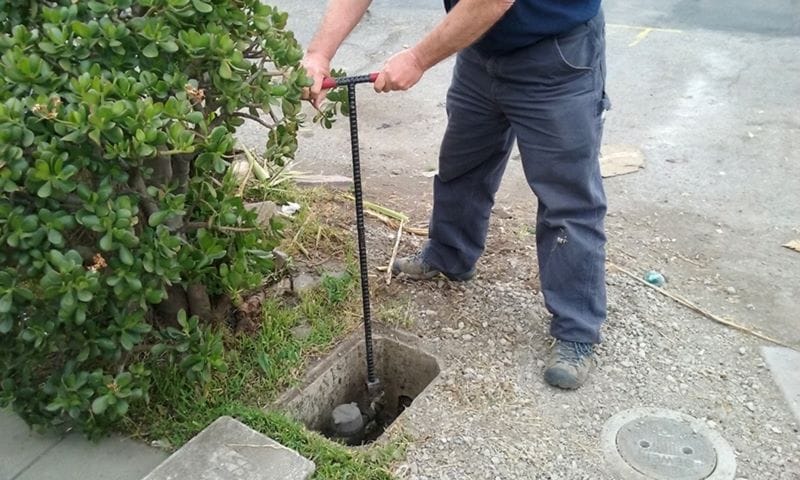
A standard home inspection usually won’t cover the condition of your sewer lines—and that’s where some of the most expensive plumbing problems can hide. Tree roots, collapsed pipes, or years of buildup inside the line can easily lead to backups, flooding, and repairs that run into the tens of thousands.
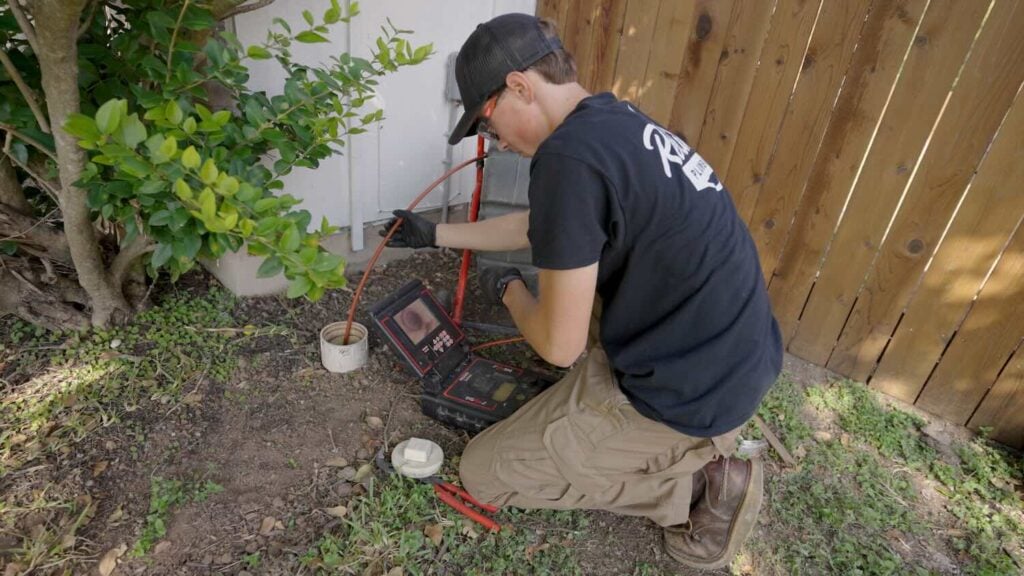
That’s why it’s smart to go a step further before (or right after) closing on a home. A professional plumber can run a camera through your drains and sewer lines to check for cracks, clogs, and damage. If you’re looking for a more budget-friendly option, at least request a hydrostatic test, which uses water pressure to check for hidden leaks under your foundation.
Spending a few hundred dollars now could save you from a massive financial headache later.
💡 Homeowner Tip: If the property has mature trees, sewer line inspections are even more important—tree roots are one of the leading causes of broken or blocked pipes.
4. Check Toilet Stability
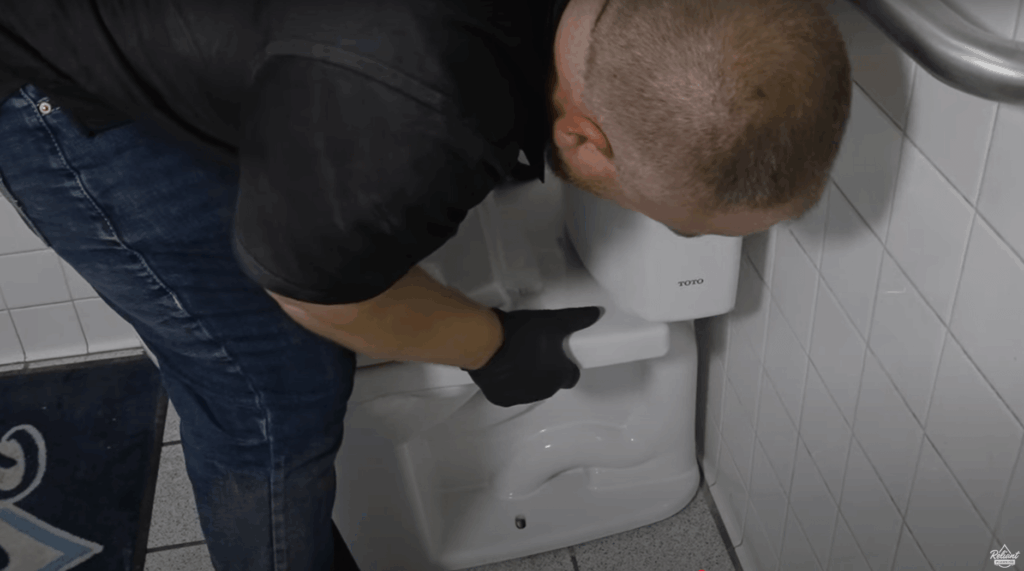
A toilet that rocks or wobbles, even slightly, isn’t just a minor nuisance—it’s a warning sign. When a toilet isn’t firmly secured to the floor, the wax ring that seals the base may be failing, or the toilet flange underneath could be damaged. Left unchecked, this small issue can allow water to seep into the floor, leading to wood rot, mildew and mold, or even structural damage. What starts as a quick, inexpensive fix can easily snowball into thousands of dollars in repairs if ignored.
Fortunately, catching it early is simple. As you walk through your new home, give each toilet a gentle rock from side to side. If it moves, it’s best to call a plumber to re-secure the toilet or replace the flange before water damage begins.
💡 Homeowner Tip: Place your hand at the base of the toilet while gently rocking it. If you feel any moisture or notice a musty smell, the leak may already be happening—don’t wait to get it checked.
5. Inspect the Water Heater and T&P Valve
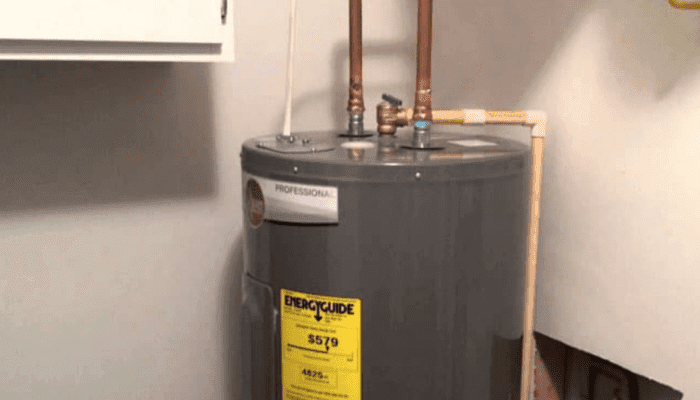
Your water heater is one of the hardest-working appliances in your home, but it’s also one of the most overlooked. Before settling in, take the time to find out how old the unit is and whether its safety features are in good shape.
Every water heater is equipped with a T&P (temperature and pressure) relief valve. This small component is designed to release excess pressure if the tank gets too hot or over-pressurized. If the valve isn’t working properly, the water heater could become dangerous and even cause catastrophic damage to your home. Testing the T&P valve is simple but important. Gently lift the lever—water should gush out of the discharge pipe. If nothing happens, the valve is frozen and needs to be replaced immediately.
💡 Homeowner Tip:Most water heaters last between 7-10 years. If yours is nearing that range, budget for a replacement soon to avoid unexpected breakdowns.
6. Replace Old Supply Hoses
Behind every sink, toilet, and washing machine, you’ll find small supply hoses that carry water to your fixtures. If those hoses are made of old black rubber, consider them a ticking time bomb. Rubber hoses dry out, crack, and eventually burst—often when you least expect it.
A burst supply hose can release hundreds of gallons of water in just a few hours, causing major flooding and expensive damage. The good news is that replacing them is one of the easiest, most affordable upgrades you can make as a new homeowner.
Swap old rubber lines for stainless steel braided hoses. They’re stronger, longer-lasting, and far less likely to fail. Best of all, this quick fix usually takes less than 10 minutes per hose.
💡 Homeowner Tip: Mark your calendar to replace braided hoses every 5–7 years. Even the best hoses wear out over time, and a simple reminder can prevent a plumbing disaster.
7. Check for Domestic Water Leaks

Not all leaks are obvious. Some happen quietly behind walls or under floors, slowly causing damage that goes unnoticed until it’s too late. That’s why it’s important to check your home’s domestic water system for hidden leaks.
A plumber can perform this test professionally, but you can also do a quick check yourself. Attach a pressure gauge to the washer box, make sure no fixtures are running, then shut off the water outside. If the pressure on the gauge drops, that means there’s a leak somewhere in your system.
Even a small, hidden leak can lead to water damage, mold growth, and higher utility bills. Catching these issues early can save you thousands in repairs and keep your home safe and dry.
💡 Homeowner Tip: Do a simple leak check once or twice a year. Regular monitoring helps you catch slow leaks before they turn into major problems.
8. Photograph All Shut-Offs and Connections
When you’re moving into a new home, it can be overwhelming to remember where every valve, connection, and appliance shut-off is located. Taking a few minutes to snap photos now can save you valuable time during an emergency later.
Create a dedicated album on your phone and photograph all key plumbing points—your main shut-off valve, toilet shut-offs, washing machine connections, water heater, and any outdoor spigots. Having these photos on hand means you’ll know exactly where everything is, even if you’re away from home and need to guide a family member or plumber over the phone. This simple step requires almost no effort, but it can make a huge difference in how quickly you respond to a plumbing emergency.
💡 Homeowner Tip: Label the photos in your album (e.g., “Kitchen Sink Shut-Off” or “Water Heater Valve”) so you’re not scrambling to figure out what’s what when time matters most.
Owning a home comes with plenty of new responsibilities, and your plumbing system should be near the top of that list. By taking the time to check your shut-off valves, water pressure, sewer lines, and other essentials, you’re not just preventing costly repairs—you’re protecting your home, your family, and your peace of mind.
Remember, some of these steps are simple DIY checks, but others are best handled by a licensed plumber. If you discover anything that feels beyond your comfort zone, don’t wait until it becomes a bigger problem. At Reliant Plumbing, our team is here to help new homeowners feel confident about their plumbing systems. Whether it’s a quick inspection, replacing old parts, or addressing a hidden issue, we’ll make sure your home is safe and leak-free.
Call Reliant Plumbing today and let us help protect your new investment.