Fast & Easy Toilet Installation: How to Replace a Toilet Yourself
Is your toilet giving you constant trouble? Sometimes it’s better to stop patching up small issues and simply install a new toilet. The good news? With the right tools, a little patience, and this step-by-step guide, you can handle a toilet installation on your own.
If DIY isn’t your thing, don’t worry—Reliant Plumbing is just a call away. But if you’re ready to dive in, here’s everything you need to know.
Tools & Supplies You’ll Need
Before you get started, gather the following tools and materials:
- Flathead screwdriver (long)
- Ratchet wrench
- Channel locks
- Mini level
- Box cutter
- Tub sealant
- Wax ring (extra thick preferred)
- Sponge (for smoothing sealant)
- Plastic shims (optional, for leveling)
- New supply line
- Shop vac (to remove water)
- Toilet hardware (factory or upgraded)
Step 1: Shut Off the Water
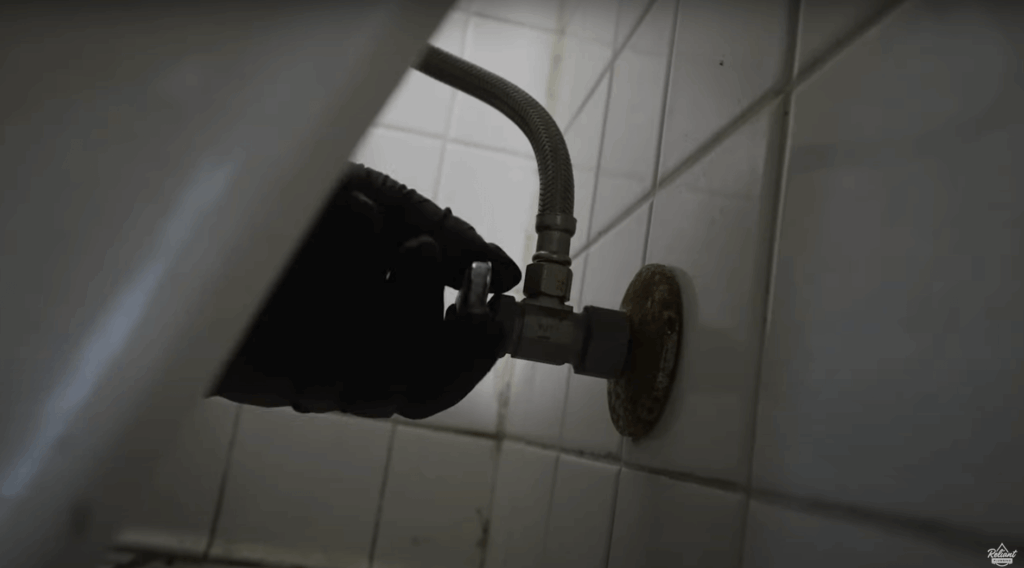
Locate the shut-off valve behind the toilet and turn it clockwise (righty-tighty). Confirm no water is flowing into the tank. Use a shop vac to remove all remaining water from the bowl and tank before moving forward.
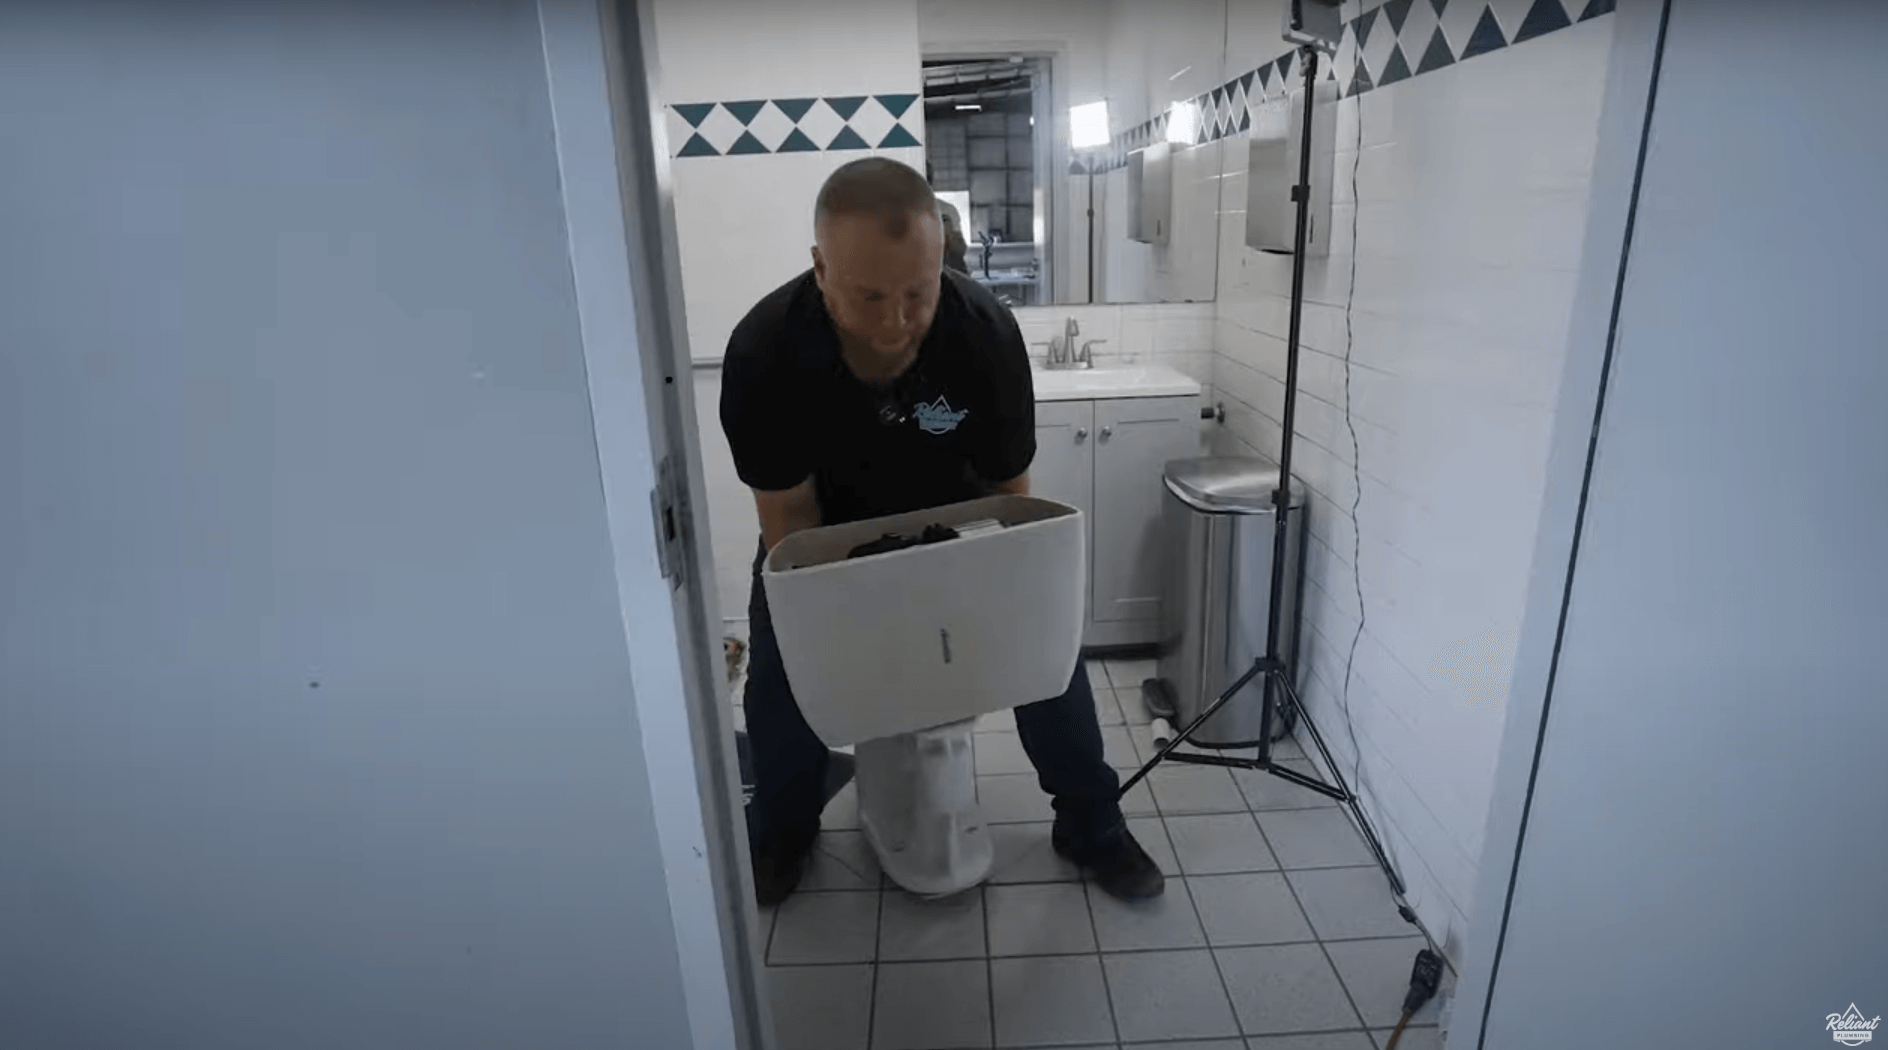
Step 2: Remove the Old Toilet
Time needed: 15 minutes
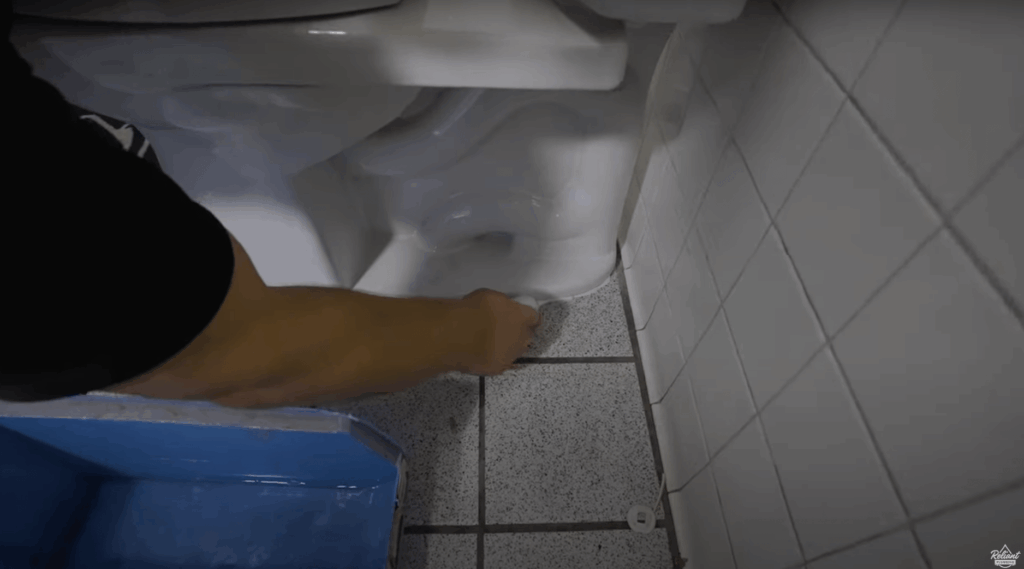
- Use a box cutter to cut through the tub sealant around the toilet base.
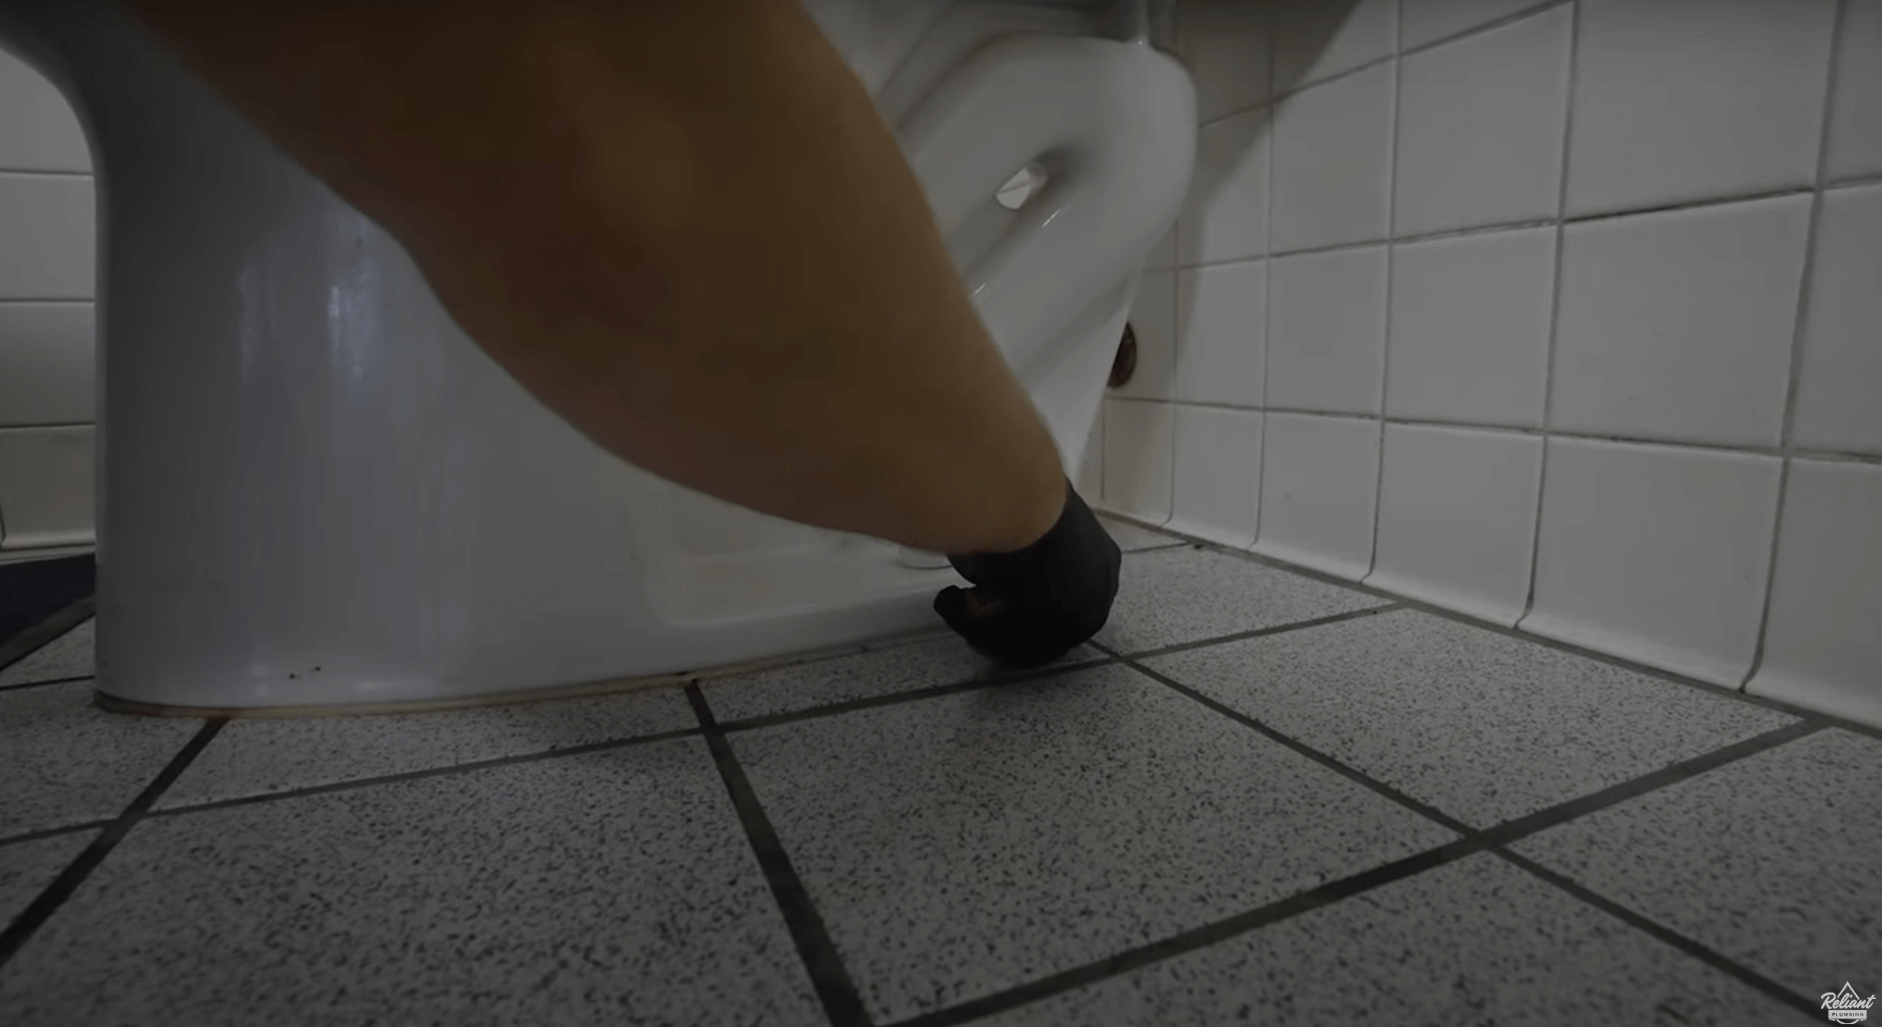
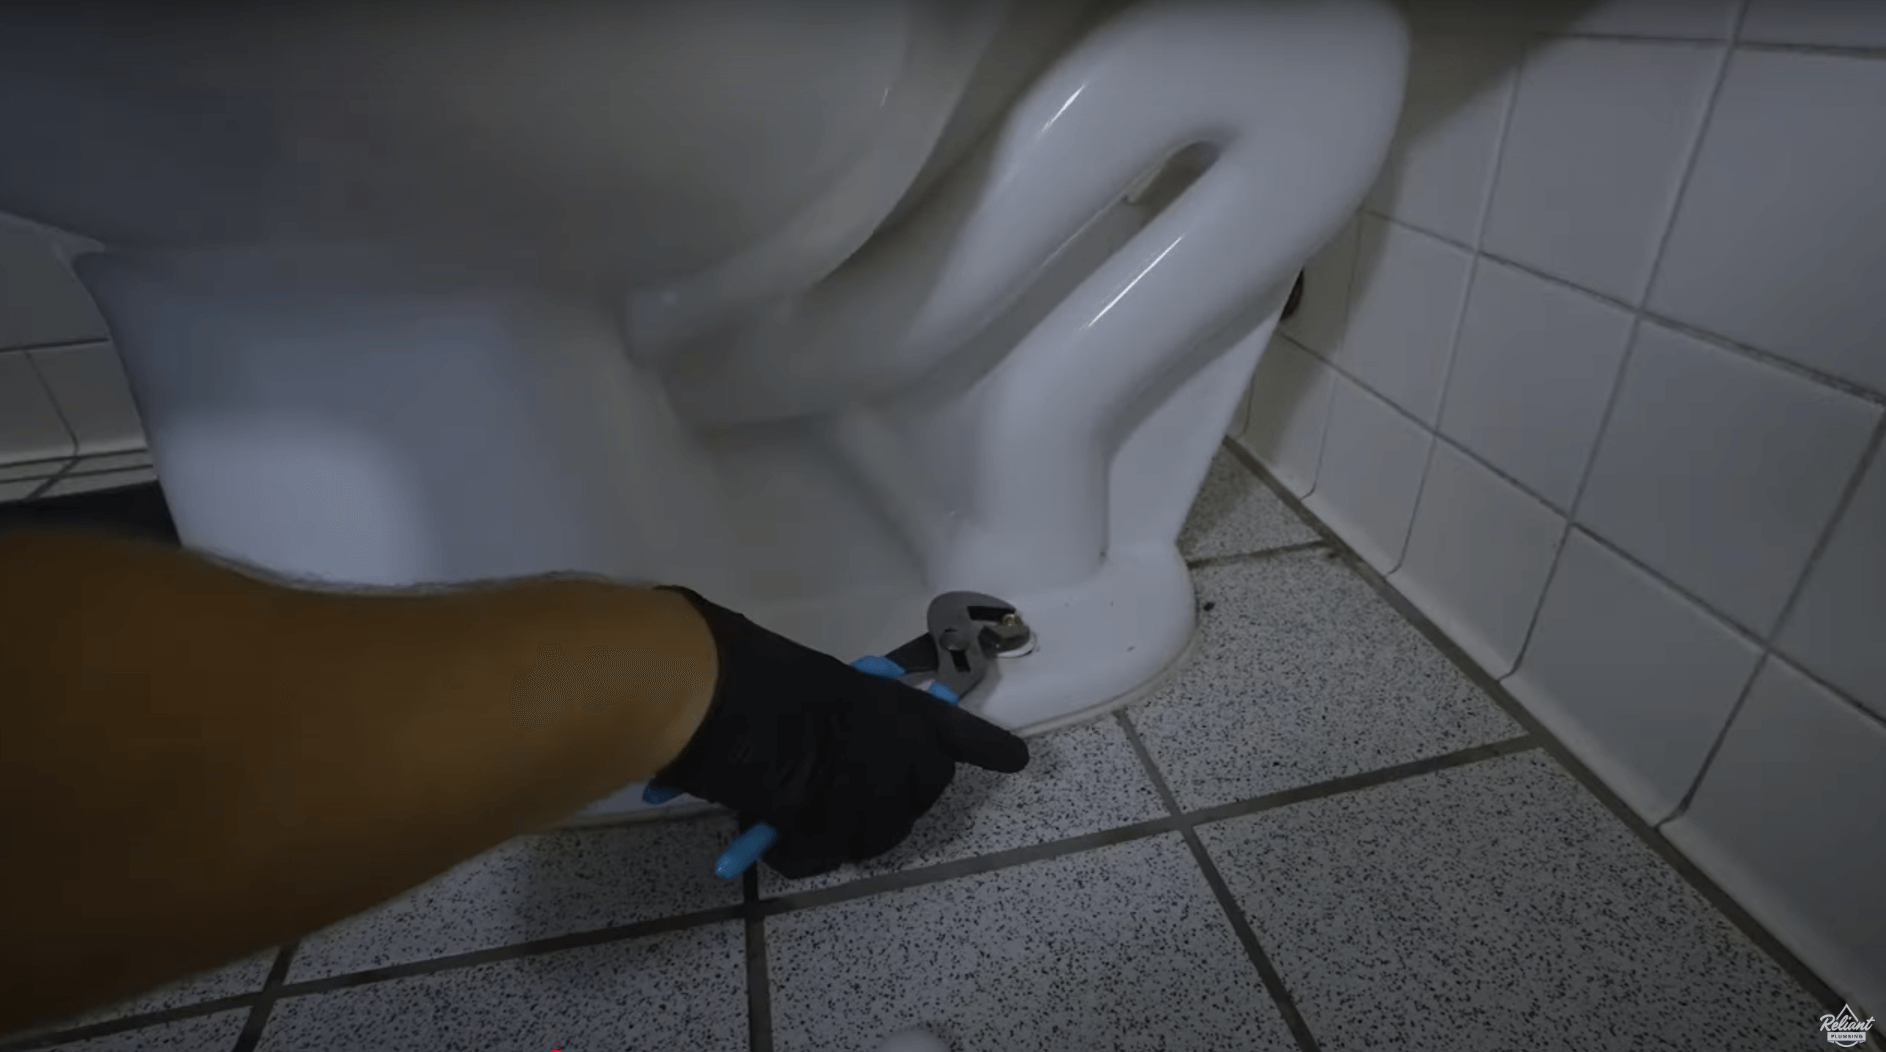
- Pop off the bolt caps and loosen the nuts with channel locks.
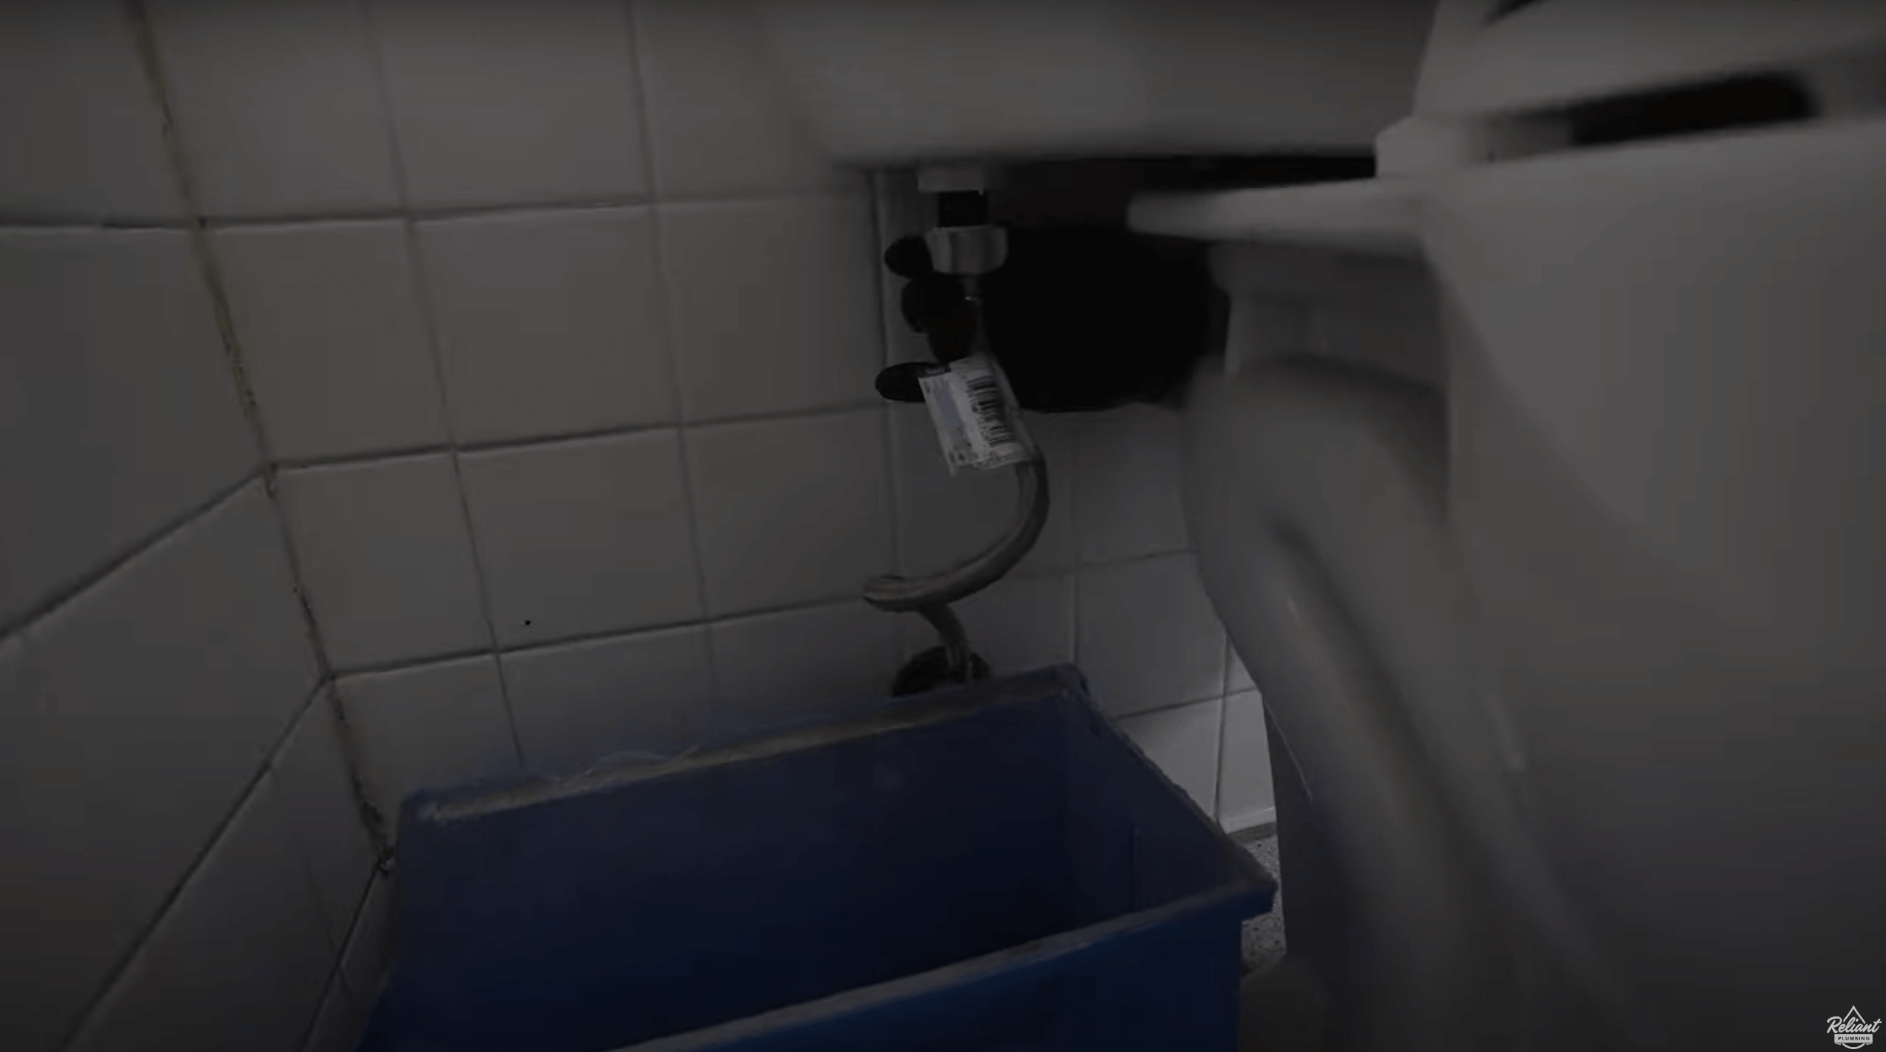
- Disconnect the supply line—keep a bucket handy to catch any leftover water.
- Carefully lift the toilet out (a “crab walk” technique works well).
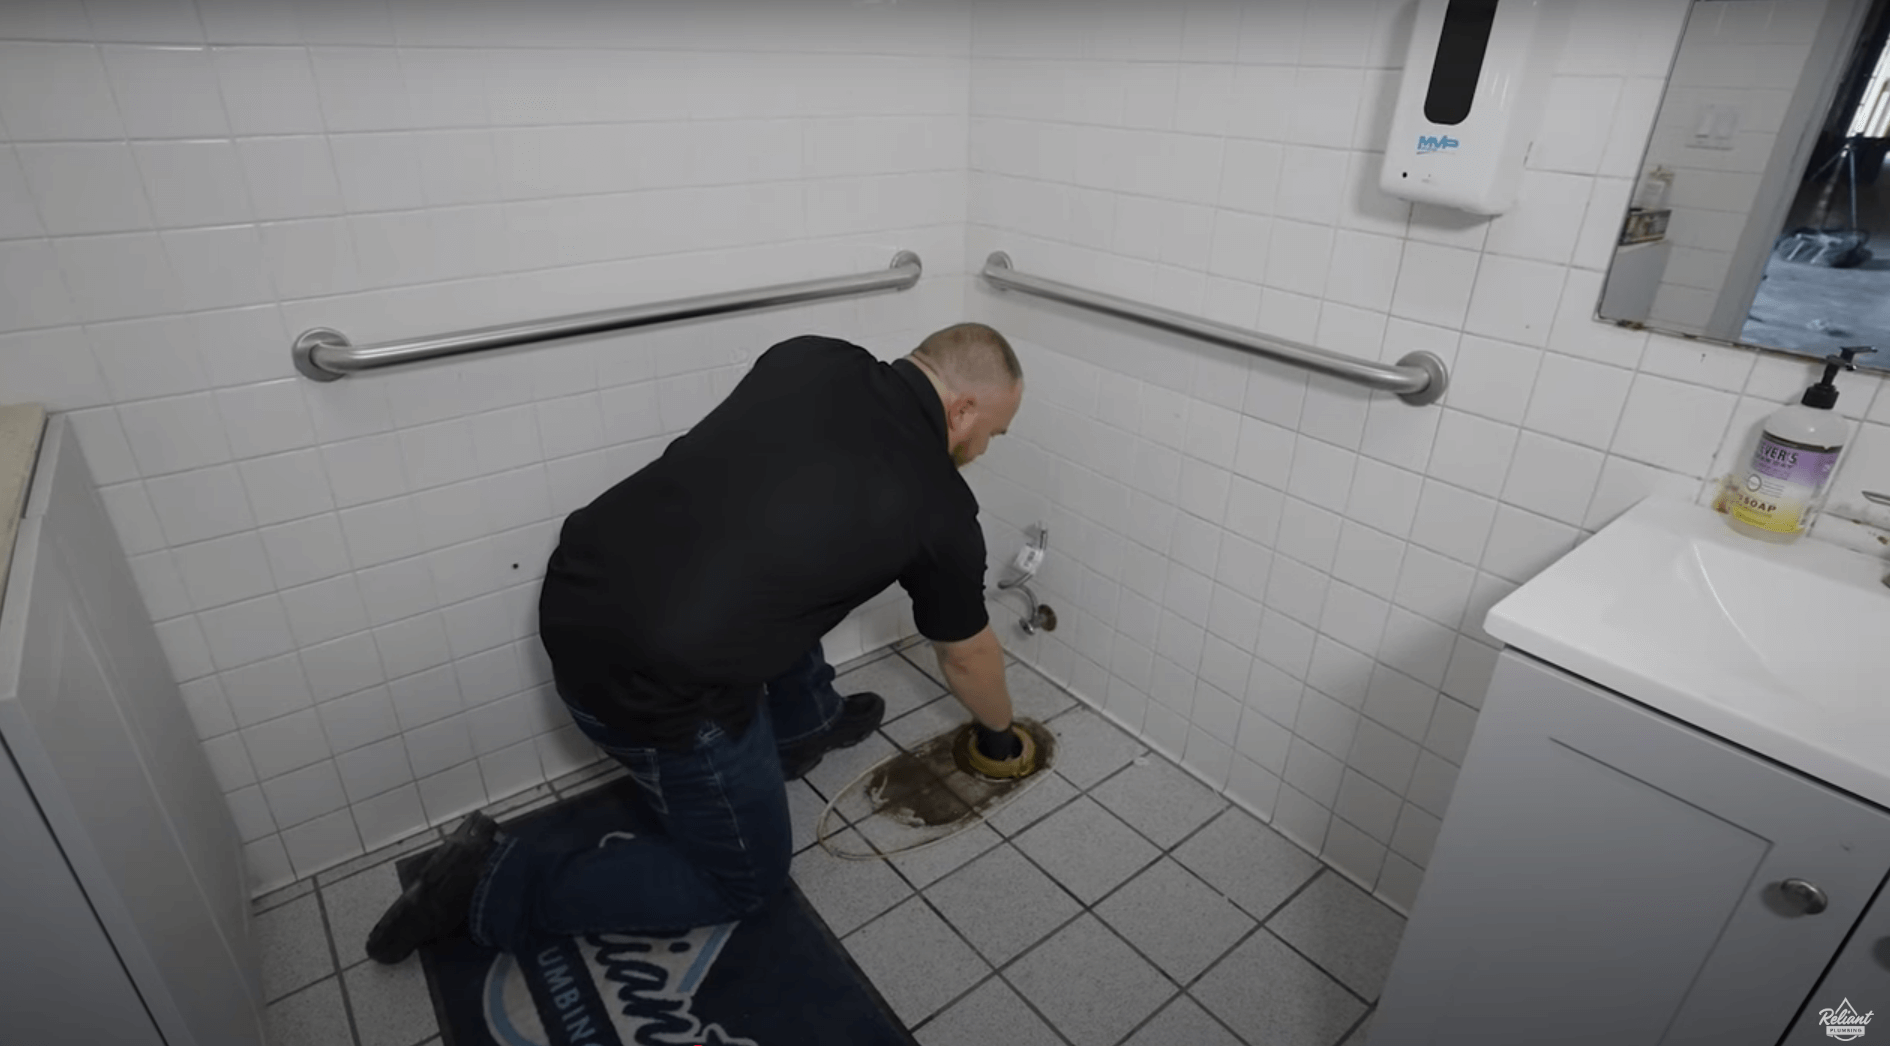
- Remove the old wax ring and clean the flange and floor area thoroughly.
Step 3: Install the Wax Ring & Set the Toilet
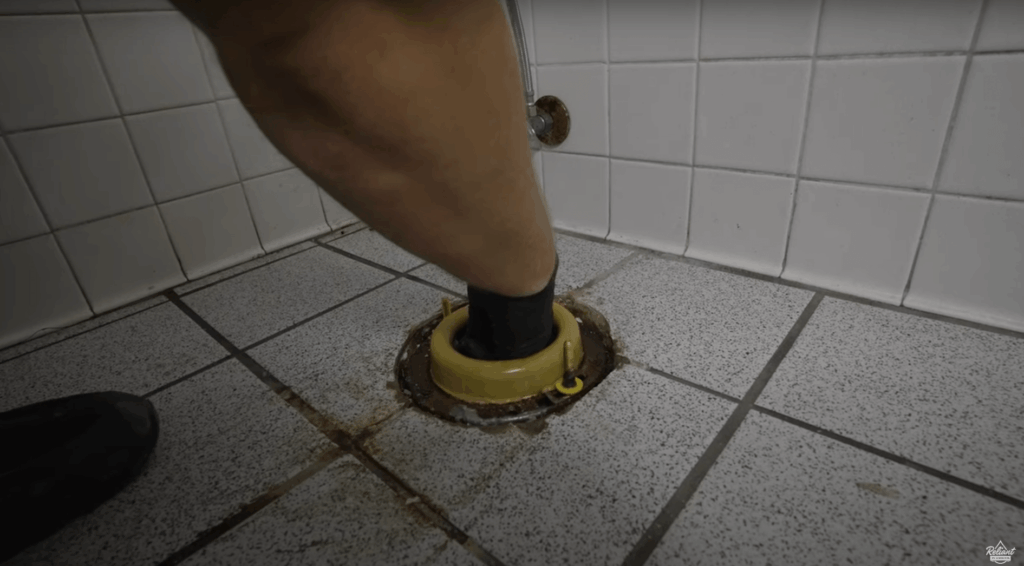
- Place an extra-thick wax ring centered on the flange.
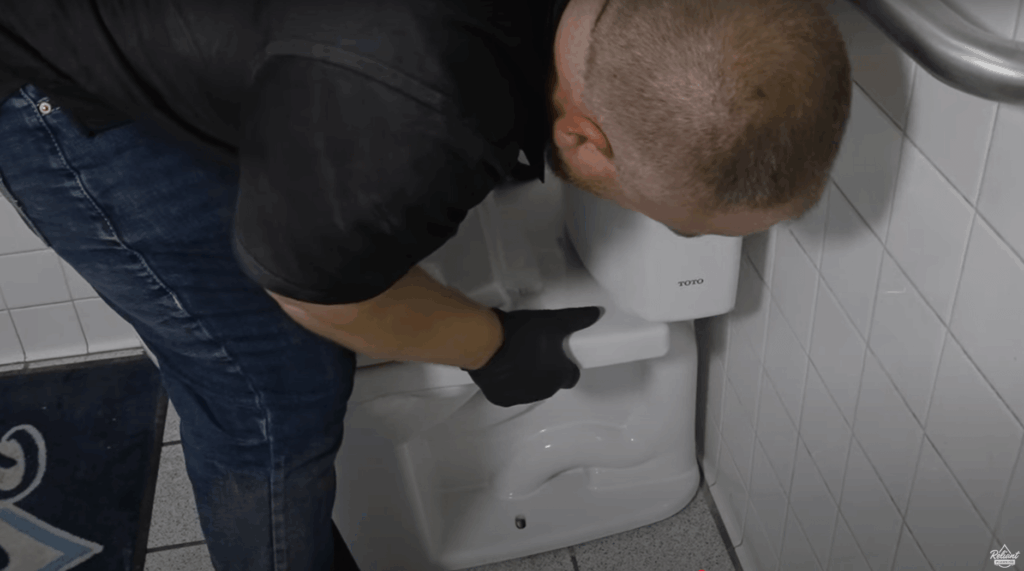
- Align the toilet bolts with the holes and lower the toilet into place.
- Press firmly to compress the wax ring and create a watertight seal.
- Secure the bolts—snug but not overtight. Snap on the decorative caps.
Step 4: Connect & Level the Toilet
- Reconnect the supply line. Tighten until secure (but don’t overtighten).
- Slowly turn the water back on and check for leaks.
- Use a mini level to ensure the toilet is even. If it wobbles, slide plastic shims under the low side.
Step 5: Seal the Base
Apply clear tub sealant around the toilet base. Smooth it with a sponge or finger for a professional finish.
Step 6: Test Your Newly Installed Toilet
Give your new toilet a few test flushes. Make sure it’s stable, sealed, and leak-free. Congratulations—you’ve just completed your own toilet installation! 🚽✨
Prefer to Leave It to the Pros?
Not everyone has the time or desire to take on plumbing projects. If you’d rather skip the tools and guarantee a flawless installation, call the licensed plumbers at Reliant Plumbing. We’ll install your new toilet quickly, correctly, and with our service guarantee.
📞 Contact us today to schedule your toilet installation and enjoy reliable plumbing done right.