How to Fix a Dripping Shower or Tub with One Simple Part
Is your shower or tub dripping even after you’ve turned it off? That constant drip not only wastes water but can drive up your bill. Luckily, you can fix it yourself with just one replacement part: a shower valve stem (also called a cartridge).
Follow this step-by-step guide to stop that leak for good.
- Shut Off the Water to Your Home
The most important step before touching your shower is to shut off the water supply.
– Locate your water meter.
– Find the shut-off valve on the meter.
– Turn the valve to stop water from flowing into your home.
Warning: Skipping this step can leave you with a face full of water once you remove the cartridge! - Drain Excess Water from the System
Because this repair is happening upstairs, you’ll want to drain the pipes so water doesn’t leak when you open the valve.
– Turn on the kitchen sink and let it run until water slows to a trickle.
– Open a few other fixtures (like bathroom faucets) to release extra pressure.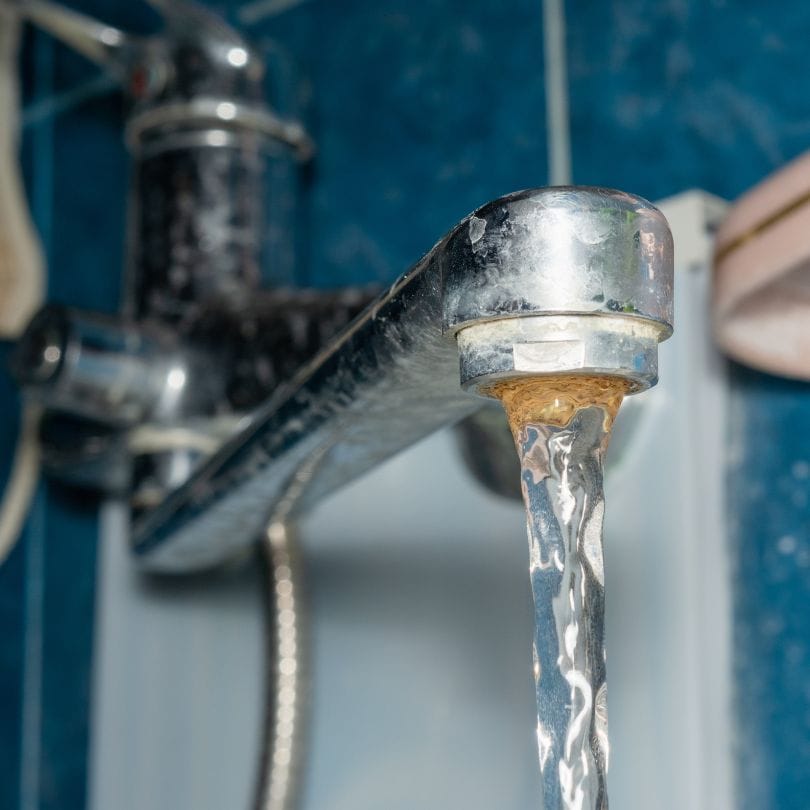
This prevents water hammer and reduces the chance of messes while you work. - Remove the Shower Handle and Access the Valve Stem
Now head to your shower:
– Pop off the decorative cover on the shower handle.
– Unscrew the Phillips screw underneath.
– Remove the handle and the sleeve to expose the valve stem.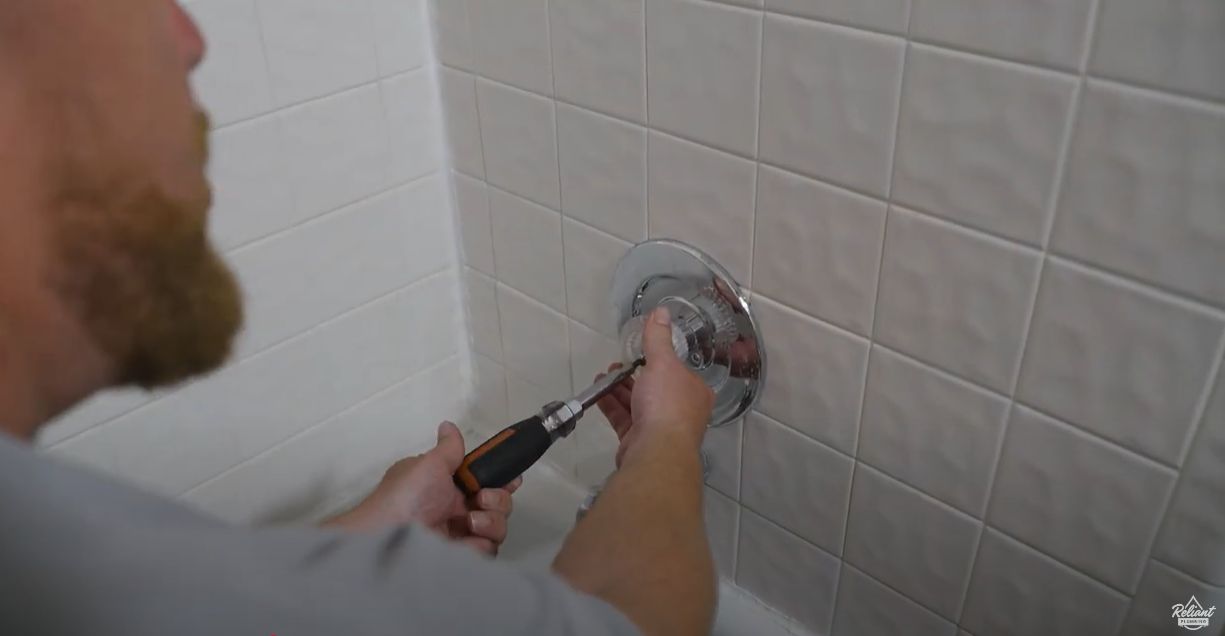
- Remove the Valve Stem
– The valve stem controls your hot and cold water flow.
– Locate and remove the small cotter pin holding it in place. You may need channel locks to pull it out.
– Use a core puller tool to grip and remove the valve stem. (Channel locks can work, but the tool makes the job easier.)
– Carefully pull until the old cartridge comes out.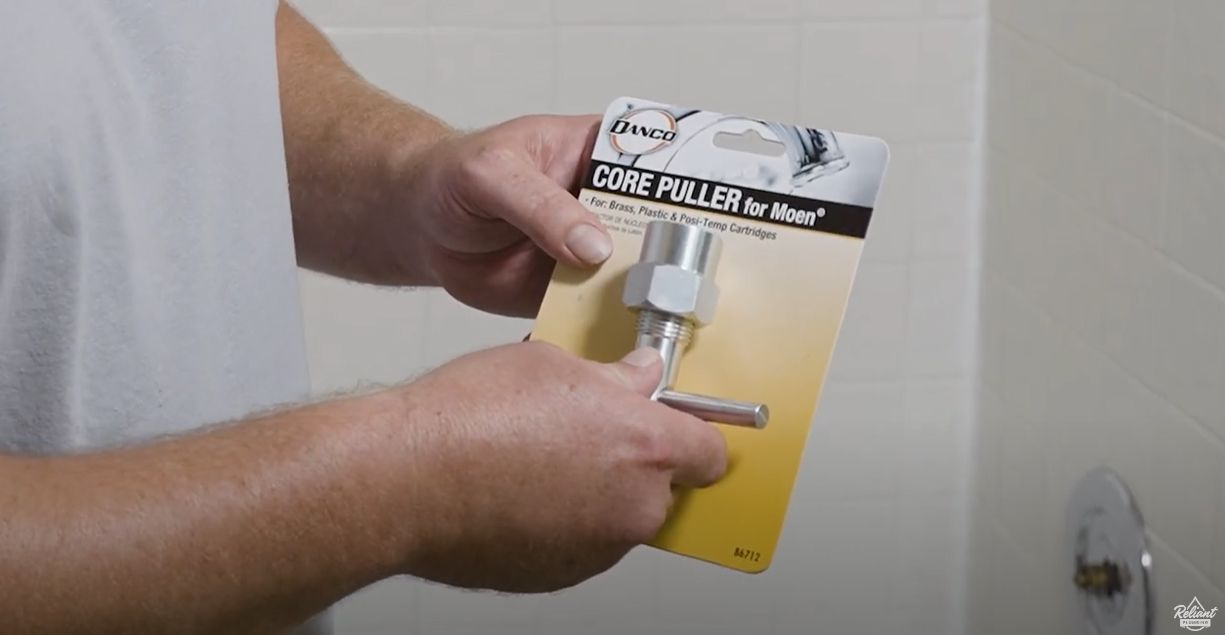
- Prepare the New Cartridge
Before installation:
– Check the orientation. The numbers on the cartridge should face downward—if installed backward, your hot and cold will be reversed.
– Make sure the cartridge is lubricated. If it didn’t come pre-greased, apply plumber’s grease to the O-rings and plastic parts.
– Inspect the inside of the valve for debris. Wipe clean to prevent leaks.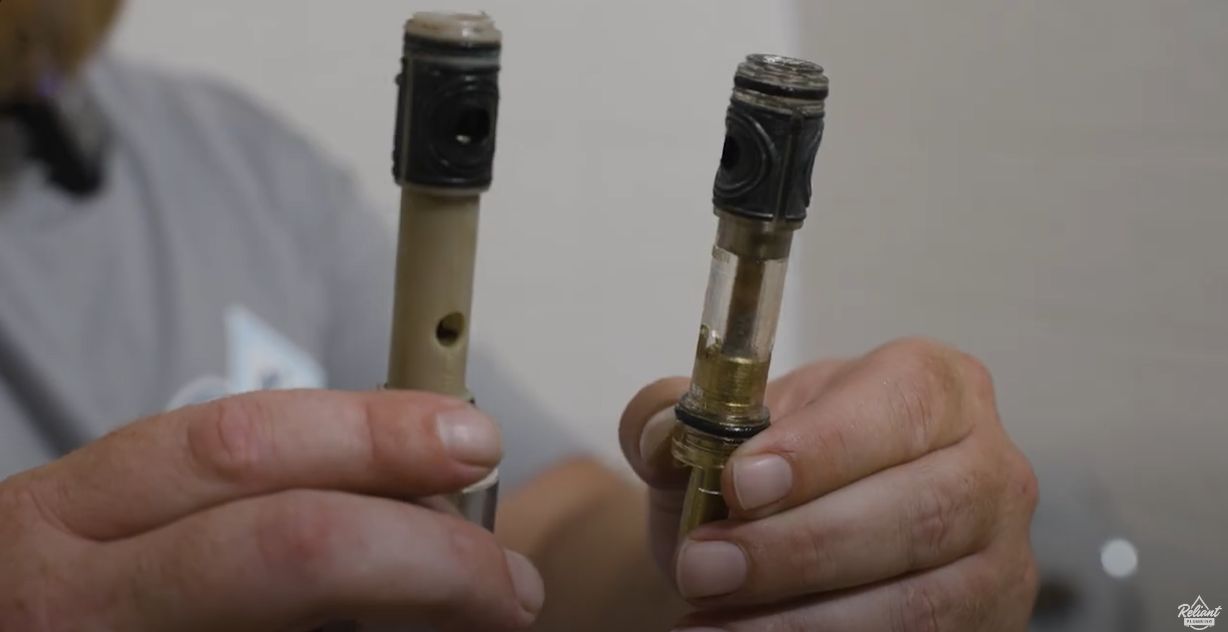
- Install the New Cartridge
– Insert the new cartridge firmly into the valve.
– Use a screwdriver to gently push it in all the way.
– Re-insert the cotter pin until it is fully seated. (If it doesn’t go in smoothly, the cartridge isn’t installed correctly.)
– Slide the sleeve back on, align it with the cotter pin, and reattach the handle with the screw.
– Snap the decorative cover back into place.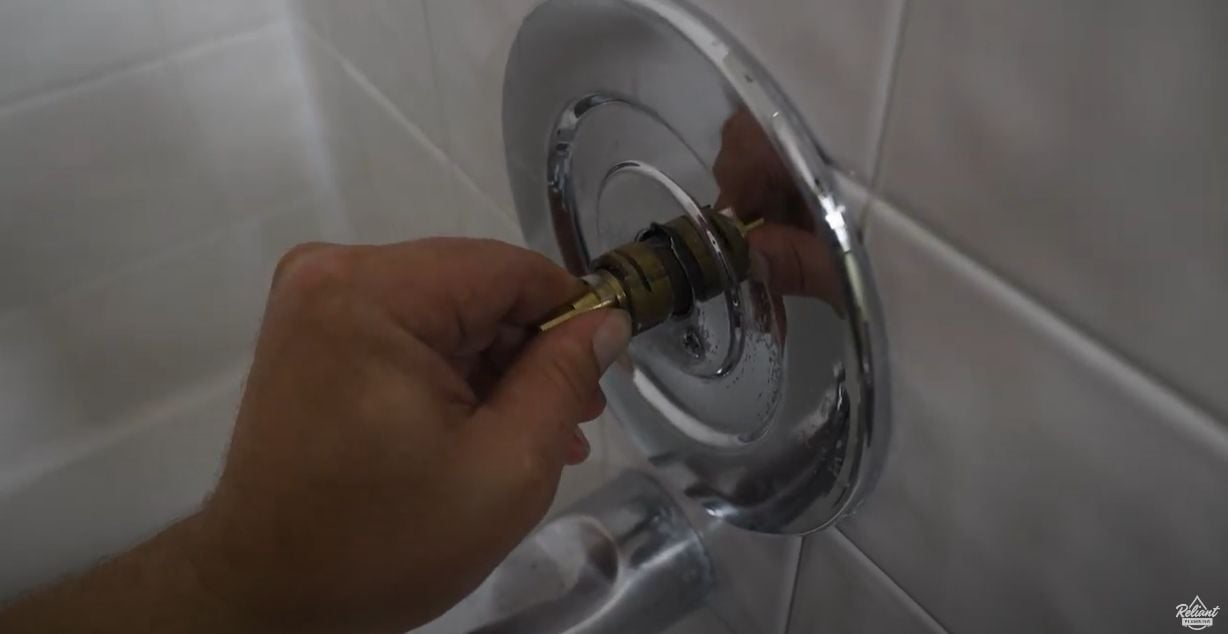
- Turn the Water Back On Slowly
– Head back to your water meter and slowly reopen the shut-off valve.
– Keep a few fixtures inside the home open while the system refills. This prevents water hammer and sudden pressure surges.
Once the water is fully on, check your shower:
– Confirm there are no leaks.
– Make sure hot water flows on the left and cold water flows on the right.
The Results: No More Drips!
You’ve successfully replaced your shower valve stem and stopped that annoying drip. This quick fix:
- Saves you money on your water bill.
- Extends the life of your shower.
- Prevents future plumbing headaches.
💡 Pro Tip: If you’re not comfortable with plumbing repairs, or if your valve stem is stuck and won’t budge, don’t force it. That’s a fast way to break parts. Call a licensed plumber to handle it safely.