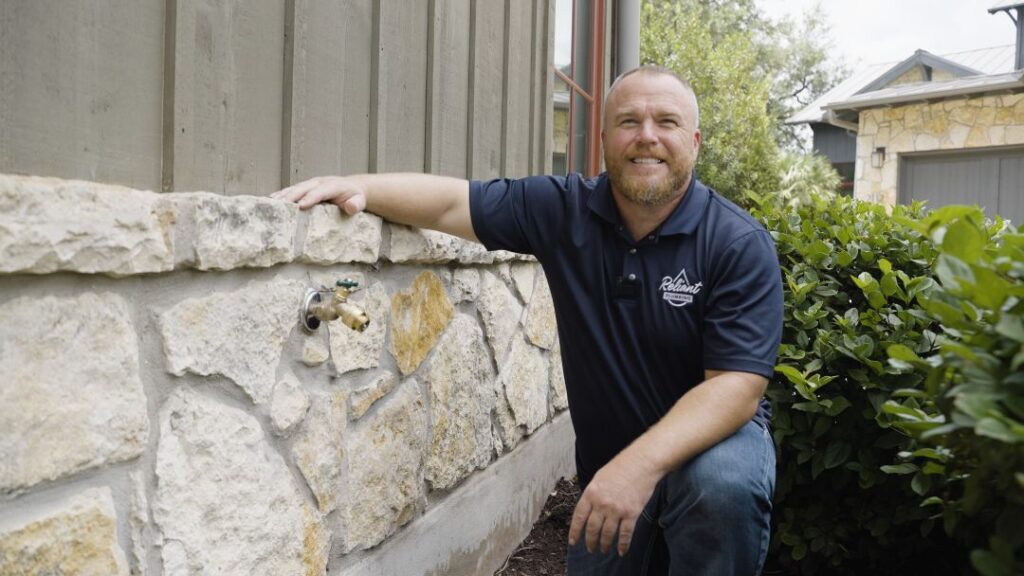
How to Replace a Hose Bib (Outdoor Faucet)
If your hose bib (outdoor faucet) is leaking or dripping and tightening it doesn’t stop the problem, it’s time for a replacement. In this guide, Reliant Plumbing’s pros walk you through how to replace your hose bib safely and correctly. With the right tools and a little preparation, you can fix that leak and get back to watering your lawn or washing your car without wasting water.
Tools and Materials You’ll Need
Before you start, gather everything you’ll need for the job:
- New hose bib (½” threaded)
- Vacuum breaker (required by code)
- Teflon tape (plumber’s tape)
- Pipe dope (thread sealant)
- Wire brush
- Two pairs of channel locks
- Gloves
- Meter key (optional – you can use channel locks instead)
- Clear tub sealant
How to Replace a Leaky Outdoor Faucet
- Shut Off the Water Supply
Before touching anything, turn off your home’s main water supply.
You can do this at the meter box using a meter key or channel locks.
Turn the valve 180° clockwise (righty-tighty) to shut it off.
Expert Tip: Open a faucet (indoors or outdoors) to confirm the water has stopped running before you continue. - Remove the Old Hose Bib
Next, it’s time to take off the old fixture.
– Remove the plastic escutcheon (the round decorative cover behind the bib).
– Place one pair of channel locks on the pipe behind the wall to act as backup—this prevents twisting the copper line inside the wall.
– Use the second pair of channel locks to unscrew the old hose bib counterclockwise.
– Once removed, inspect the threads and make sure the wall pipe is still firmly in place. - Clean and Prep the Threads
Use a wire brush to clean the pipe threads thoroughly.
Any old sealant or corrosion left behind can prevent a watertight seal and cause future leaks. - Apply Teflon Tape and Pipe Dope
To ensure a leak-free connection:
– Wrap Teflon tape around the threads 4–5 times in the same direction the hose bib will tighten.
– Apply a small amount of pipe dope over the tape for extra sealing power. - Install the New Hose Bib
– Slide the escutcheon onto the pipe before threading the new bib.
– Hand-tighten the hose bib onto the pipe, making sure it spins smoothly and isn’t cross-threaded.
– Once snug, use your channel locks to gently tighten it.
Expert Tip: Do not over-tighten. It’s better to start snug and tighten later if you find leaks than to risk damaging the pipe inside the wall. - Add the Vacuum Breaker
A vacuum breaker prevents contaminated water from siphoning back into your home’s plumbing system — and it’s required by plumbing code.
– Loosen the small screw on the vacuum breaker before threading it on.
– Hand-tighten the breaker, then use channel locks for about a half turn more.
– Tighten the screw until the head snaps off — this locks it in place permanently. - Seal the Escutcheon
Apply clear tub sealant around the escutcheon where it meets the wall.
This keeps out bugs and moisture. It will go on white but dry clear — just smooth it out with your finger for a clean finish. - Turn the Water Back On and Test
Slowly turn the water back on at the main valve.
Don’t open it all the way at first — let the lines fill and the air escape.
Once the system is full and you hear the water stop running, turn it all the way on.
Now, turn on the hose bib to check for leaks.
– If you see drips, gently tighten the fitting a bit more.
– If everything is dry, you’re done!
Note: When you shut off the hose bib, it’s normal for a small amount of water to come out of the vacuum breaker — that’s how it’s designed to function.
Final Check
Your new hose bib should now be working perfectly — no leaks, no drips, and code-compliant.
If you ever feel unsure about the process, Reliant Plumbing’s licensed professionals are available 24/7 to help with hose bib replacements, outdoor faucet repairs, and other plumbing projects.
Need Help?
Don’t risk damaging your copper line or wall.
If you’d like a professional to handle it, call Reliant Plumbing today — we proudly serve Austin, San Antonio, Waco, Dallas, and surrounding areas with same-day service.
Key Takeaways
- Always shut off your water before starting.
- Use both backup and channel locks to prevent twisting your copper lines.
- Don’t over-tighten fittings — snug first, adjust later.
- A vacuum breaker is required by code for outdoor faucets.
- Seal the wall opening to keep bugs and moisture out.